First impressions of the fastest JavaScript runtime for Lambda
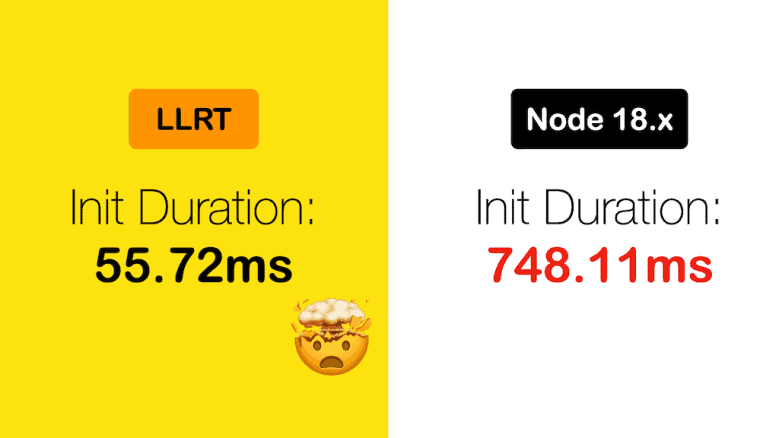
LLRT, the new Low Latency Runtime for JavaScript, is an experimental runtime for Lambda that promises 10x faster startup time!
In this post, let’s look at why it’s so damn fast, and what design choices it makes (and why they make sense in the context of Lambda).